DIY iPhone 13 Screen Repair: A Step-by-Step Guide

Cracked or damaged screens are among the most common issues iPhone users face. If you have an iPhone 13 with a broken screen, you might be wondering whether to take it to a repair shop or try fixing it yourself. While DIY screen repair can be challenging, it’s possible if you have the right tools and patience. In this guide, we will walk you through the step-by-step process of replacing your iPhone 13 screen.
Disclaimer
Repairing your iPhone 13 screen yourself carries risks, including voiding your warranty or causing further damage to your device. Proceed with caution and consider professional repair services like Smart Tech Outlet if you’re unsure.
Tools and Materials You Will Need
Before starting, ensure you have the following tools and replacement parts:
- Replacement screen (OEM or high-quality aftermarket)
- Precision screwdriver set
- Suction cup tool
- Plastic opening tools (or guitar picks)
- Tweezers
- Adhesive strips or glue
- Heat gun or hairdryer
- Anti-static wrist strap (optional but recommended)
Step 1: Power Off and Prepare the Device
Start by powering off your iPhone 13 completely. This prevents accidental short circuits during the repair.
- Hold the Side button and one of the volume buttons until the power-off slider appears.
- Drag the slider to turn off the phone.
- If possible, remove your SIM card tray to prevent damage during repair.
Step 2: Remove the Screws and Open the Device
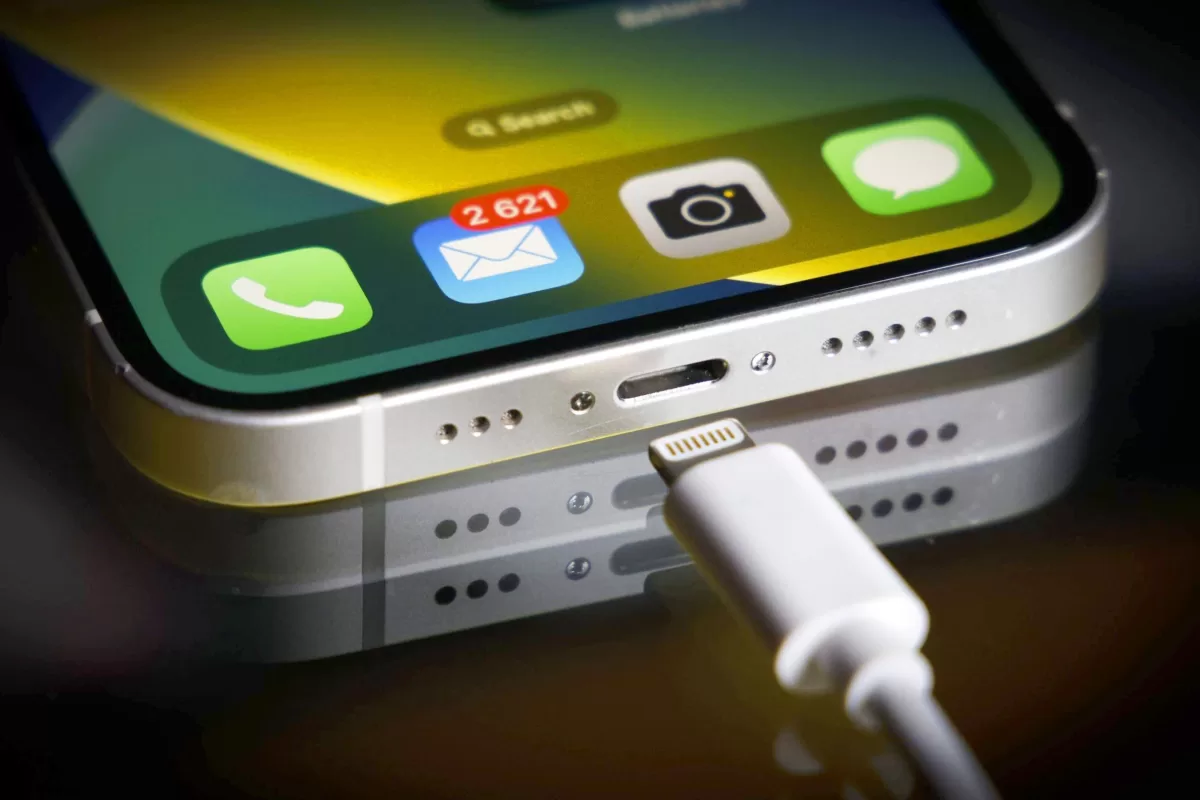
- Use a Pentalobe screwdriver to remove the two screws near the charging port at the bottom of the phone.
- Use a heat gun or hairdryer to warm the edges of the screen slightly. This helps loosen the adhesive holding the display in place.
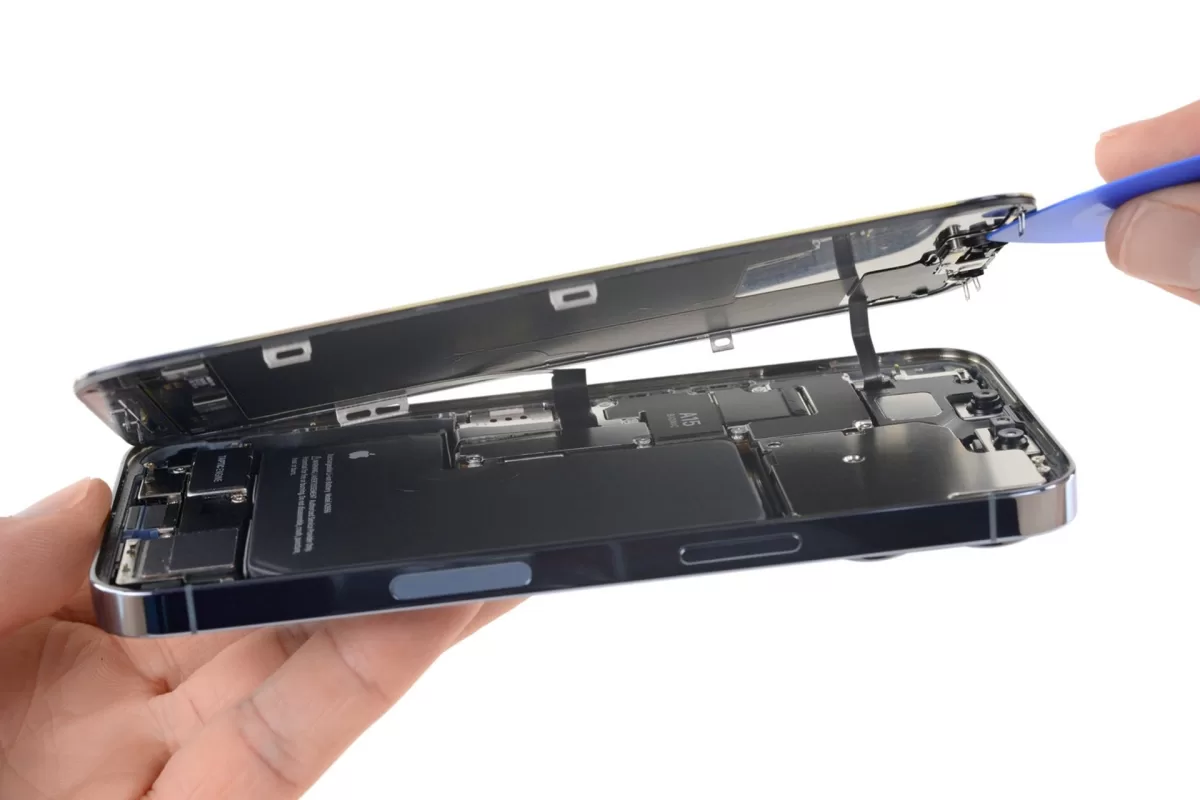
- Attach the suction cup tool near the bottom edge of the screen and gently lift to create a small gap.
- Insert a plastic opening tool or guitar pick into the gap and carefully slide it along the edges to separate the screen from the frame. Be cautious near the Face ID sensor and cables at the top.
Step 3: Disconnect the Battery and Display Cables
- Once the screen is slightly lifted, locate the battery connector and disconnect it using a plastic spudger.
- Remove any screws securing the display cable bracket and carefully disconnect the display cables.
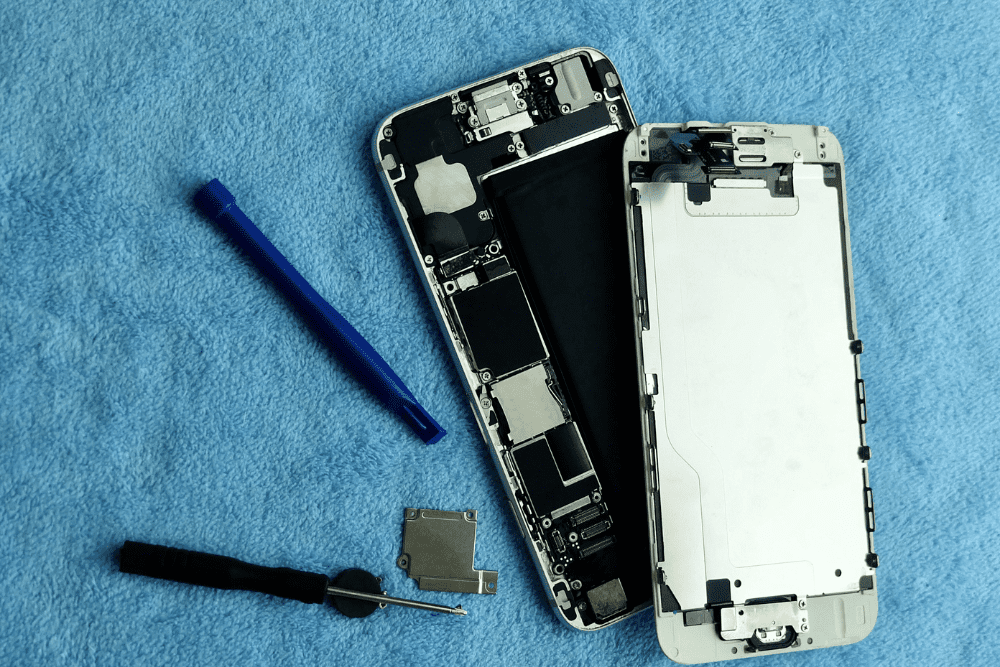
- Lift the old screen away from the device.
Step 4: Install the New Screen
- Connect the new screen’s display cables to the motherboard.
- Secure the display cable bracket with screws.
- Reconnect the battery connector.
- Before sealing the device, power it on to test the new screen. Ensure the touch response, brightness, and Face ID work properly.
Step 5: Reassemble the iPhone
- If everything is working correctly, apply new adhesive strips around the edges.
- Carefully press the new screen back into place.
- Secure the Pentalobe screws near the charging port.
- Insert the SIM tray back in if you removed it earlier.
Step 6: Final Testing
Power on your iPhone and verify that the screen functions properly. Check for touch responsiveness, color accuracy, and Face ID functionality. If any issues arise, double-check the connections.
Conclusion
DIY iPhone 13 screen repair can be a cost-effective alternative to professional services, but it requires patience and precision. If you feel uncomfortable at any stage, it’s best to seek expert help.
Would you attempt a DIY repair, or do you prefer professional services? Share your thoughts in the comments!
By following this step-by-step guide, you can save money and learn a valuable skill. Stay safe and happy repairing!